Last Updated on July 24, 2022 by Ecorf
When you are thinking about places to store your kayak, the garage is one of the few places that come to mind, and for obvious reasons. The garage is the place where we all keep stuff like the kayak, isn’t it?
Another place that comes to mind when you are considering where to store your kayak is outside the house. However, keeping your kayak outside has a number of shortcomings, such as the risk of theft or the kayak getting damaged by constant assaults from the ever-changing weather.
The common reason people give for keeping their kayaks outside is that they had run out of indoor space to keep things as big as the kayak. But what most don’t know is that there can always be a space for your kayak if you have a ceiling or a wall in your garage. And I’m willing to bet that all garages have both of those things.
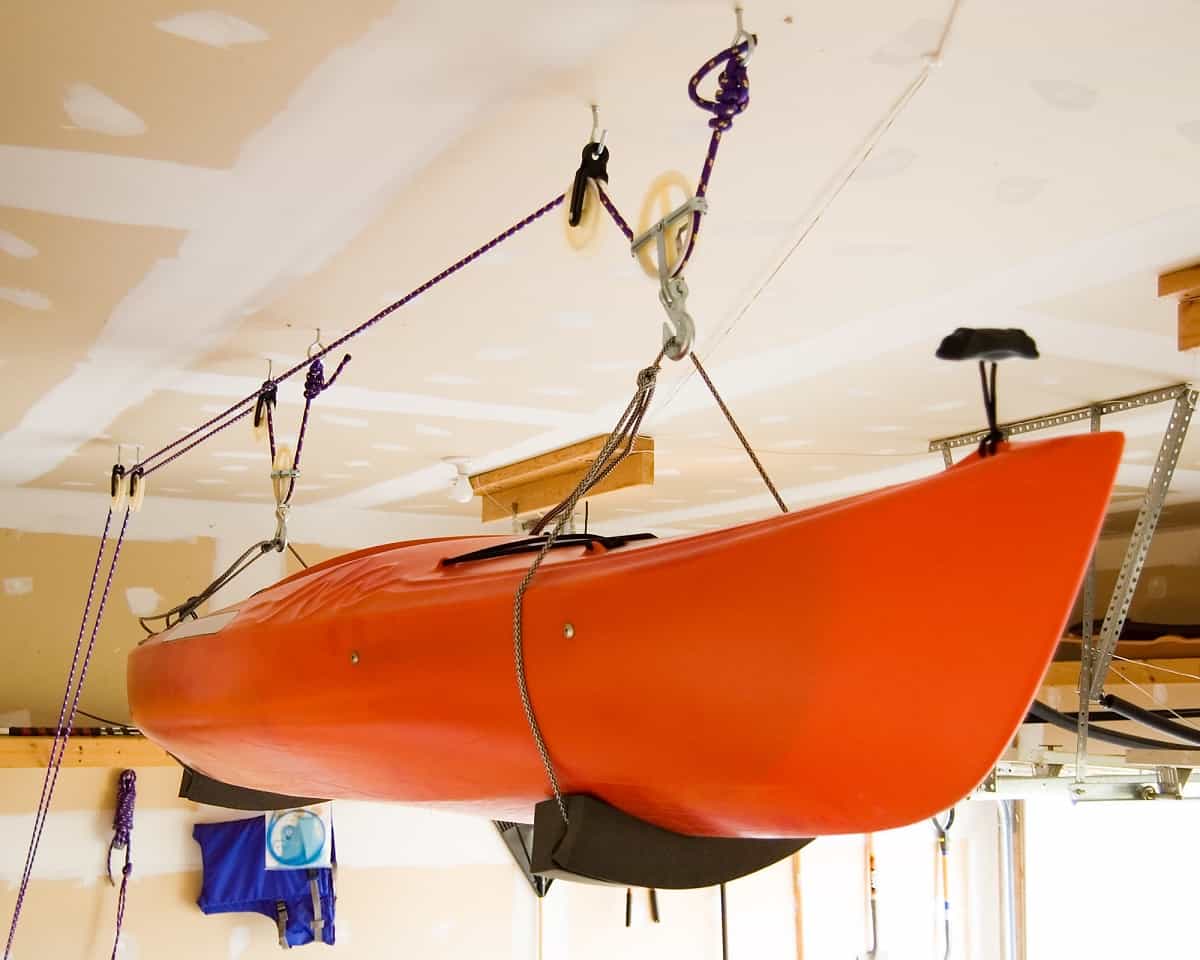
As a matter of fact, this article is dedicated to teaching you how to set up a pulley system to lift a kayak for the sake of hanging it from the ceiling.
Table of Contents
Why Keeping your Kayak in the Garage is Great
Keeping your kayak indoor is a great idea especially if you have enough space in your garage or any other room where it wouldn’t look out of place. In case you were wondering when you should consider keeping your kayak indoor, here’s some help: You can keep your kayak inside when:
- You don’t want anything to make its home out of your kayak.
- You want it to be always clean
- You don’t mind getting a storage rack
- You don’t want the elements wearing down your kayak
Interestingly, one great thing about keeping your kayak in the garage is that you don’t really have to create some extra space to make room for your kayak. This is because you can just hang your kayak on the wall, or better still, from the ceiling.
When you are thinking about hanging your kayak from the ceiling, you most likely wouldn’t be able to do it all alone without a system such as a pulley system. With a pulley system, you may not even need any help at all.
Setting Up Your Pulling System
Let’s get started on how to set up the pulley system already. However, here are some materials you would need to help set it all up.
- Eye hook screws
- Anchor
- Pulleys
- Drill and drill bit
- Wrench
- Tie-down straps with hooks
- Stud finder
This whole thing might look like an impossible task for just one person to do but the truth is that it is something you could finish in less than an hour without much help. Also, if you know you aren’t great at DIY tasks then, by all means, get someone who could do it for you.
Using The Stud Finder
This is important equipment because you would need to find studs or joists in your ceiling into which you can screw your eye bolts.
Also known as internal capacitance stud finder, the stud finder works on the basic principle of detecting a change in the dielectric constants in your ceiling as you move it across the ceiling.
Forget science and just know this. When you move the stud finder across your ceiling and it starts beeping, just know that you have found a stud. Continue to move the stud finder across the ceiling until the beeping stops and you would have found the other end of the stud. Don’t forget to mark out those two points as you would be using them for the rest of the process.
Another alternative for finding your stud is to make use of strong magnets.
After Finding The Studs
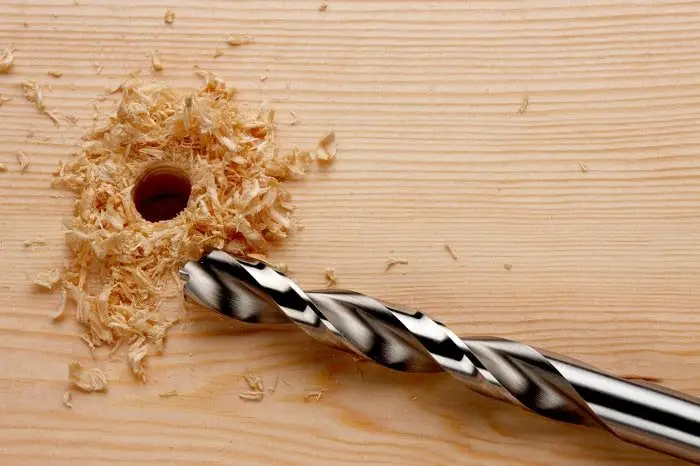
After you must have marked the ends of the stud, you are now up for some hole drilling. You would be drilling four pilot holes that are smaller than the diameter of the eye bolts you would be screwing into them. Two of these four holes are for the front of the kayak while the other two are for the rear end of the kayak.
You can now screw in your eye bolts as tightly as you can. After you have done this, make sure you tug the eye bolts very well to ensure they have been well fitted into the holes. You wouldn’t want your kayak falling from the ceiling because you didn’t fit in the eye screws properly.
You could also get yourself some hooks and use them in place of the eye bolts. Just get whatever you feel would hold your kayak pretty well. From here, you can then attach the pulley to the hooks. And for the rest of this article, I would be using hooks instead.
The anchor should be fitted into the ceiling close to one of the hooks. From here onwards, I would be calling this hook, hook 1. Also, another hook should be fixed a few feet away from the two rear hooks.
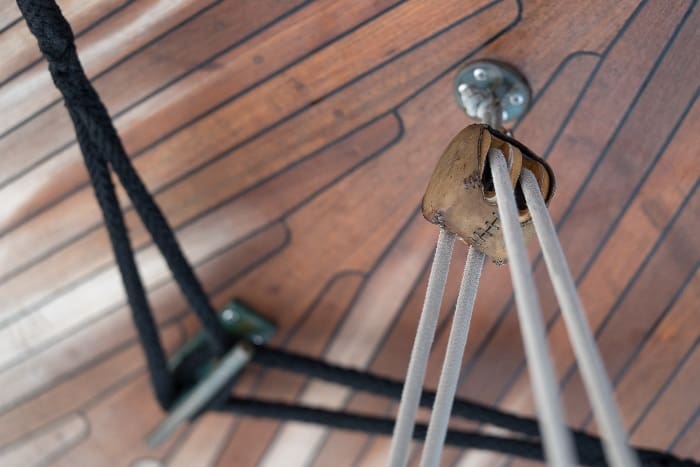
Another thing you have to do is to make sure that that there are two pulleys attached to each hook. This is because you want the rope to be able to go in through the first hook, go down, and go back out through the other hook. Only hook 1 and the last hook that is a few feet away from the other hooks should both have a pulley each.
Roping the Pulleys
The final thing you need to do is to rope the pulleys. The first step is to put the hole in through the pulley that is attached to the hook which sits a distance from the other hooks. From here, make the rope go in through one of the pulleys closest to it.
Bring the rope down and attach the strap to it before putting it through the other pulley which is attached to the same hook. Do the same for every other pulley pair until you get to the last hook which has just one pulley. Put the rope in, fix the strap and make the rope end on the anchor.
Conclusion
If you follow the instructions above to the letter, you would have yourself a working pulley system that can help lift and hold to your kayak to the ceiling. Don’t forget to get someone to do this whole thing for you if you aren’t great with DIY projects.
Have fun building your own pulley system and make sure to be careful during the process.


